1. Before you begin, make sure the site survey or image plan you need is saved to your computer.
2. Go to Project Information and click Background. The file explorer will pop up, offering you the option to select the image saved to your computer and insert it.
3. Once the image is inserted, additional controls will appear in the Panel. Use these tools to adjust the image appearance and scale. Note: To enable the background image controls, ensure the background layer is selected. The selected background layer will be highlighted in blue.

4. With the background layer selected, use Set Image Scale to zoom in on a known measurement. First, click from one side to another. Then, enter the correct size of that measurement in the pop-up window.
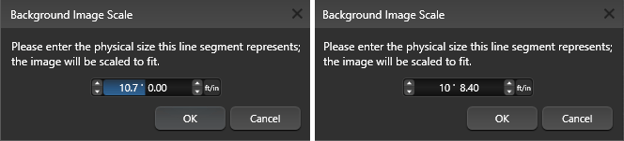
You can also enter decimal measurements to set the scale.
For instance, if you enter 10.7 feet, the software will automatically convert it to 10 feet 8.4 inches and allow you to make any necessary adjustments.
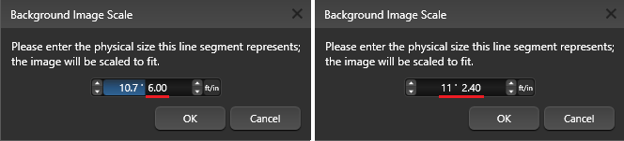
If you have a measurement entered in inches, such as 6 inches, and you enter 10.7 feet, the software will automatically calculate and combine them to give you a total measurement of 11 feet 2.4 inches.
5. When your background layer is selected, you can also click Invert Colors and use the Move and Rotate tools to adjust the image based on the grid location.
Tip: Press the hotkey K to turn off your angle snap and rotate the image freely.