You can save your own custom templates to the Library for use in future projects. A single template can include objects created in different stages—for example, you can save a water feature together with the surrounding landscaping as one template.
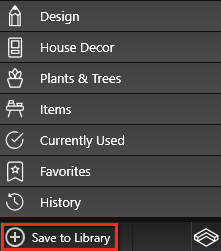
The button located at the bottom of the Library allow you to save customizations you have made to templates.
Save to Library: By saving a template you will create a new item in the Library.
It is recommended to save all custom templates you create to the library. This will allow you to quickly and easily insert your templates in all your future projects.
Save to Library
Click the Save to Library button to open the Create New Template dialog, which displays a preview image of your template. Use the drop‑down lists to choose the Category and Subcategory where you want to store the template, then enter a Name.
To add a new Category or Subcategory, simply type the new name into the field. Click OK when you are finished.
Objects

Materials

After a template is saved, click its thumbnail in the Library to delete or edit it.

Trash Can: Click the Trash Can (Delete) icon to permanently remove the template from the Library for all projects. This action cannot be undone.
Gear: Click the Gear (Edit) icon to open the Edit Template box. Here you can update the Category, Subcategory, and Name. This allows you to move saved templates between Categories and to create new Categories by entering new names.
Object types that cannot be saved to the Template Library:
-
Groups (if any object in the group is not supported)
-
Callouts
-
Hole splines (when selected individually)
-
Spillovers (when selected individually)
-
Legacy Library Objects
-
Pool Studio and VizTerra: Smart Data Blocks (Page Layout)
-
Pool Studio and VizTerra: SketchUp/FBX models
-
VizTerra: Pool, spa, and step splines