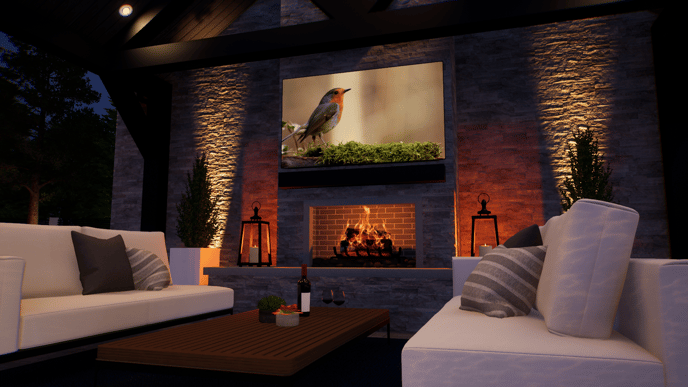
Outdoor Kitchens & Fireplaces
Delight your clients with a custom outdoor kitchen or fireplace, complete with all of the accessories they want most.
Whether it’s an extensive outdoor kitchens with everything a family needs for their next barbecue or a relaxing fireplace positioned in just the right spot to admire the sunset — the software makes it easy to create those custom features that homeowners love. Anywhere, at any stage, for any yard.
CUSTOM OUTDOOR KITCHEN
Whether your client wants a show-stopping gourmet kitchen with all the bells and whistles or a simple prep station to make grilling easier, the software makes it easy to add the custom outdoor kitchen you need.
Once you’ve chosen the style , the tools make it easy to plot the dimensions quickly.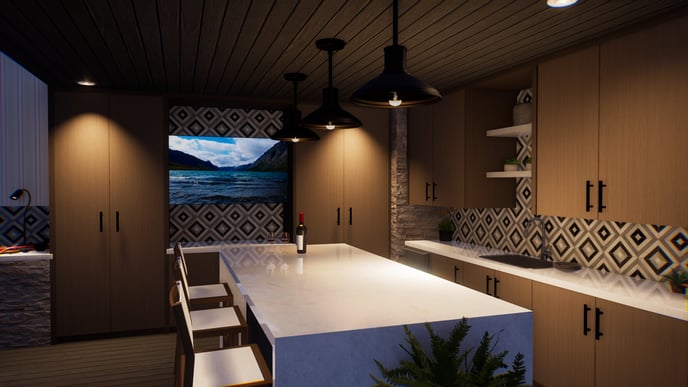
Create the Base
Create the kitchen base in the Hardscapes Stage. Activate the Line Tool to create the shape.
Customize the Countertop and Lip
Creating and customizing a beautiful countertop is just as easy! Adjust the settings to create the perfect look:
- Lip Style: The lip height and style can quickly be adjusted. It’s also easy to draw a custom lip style and apply the new style to your countertop.
- Countertop Surface: In Materials, it’s quick and easy to choose from many countertop finishes, including granite, limestone and tile.
- Bar-height counters: The height of the counter takes no time at all to adjust. For a bar-height counter that will accommodate bar stools, for example, simply use the drawing tools to create a base and countertop in Custom Shapes.
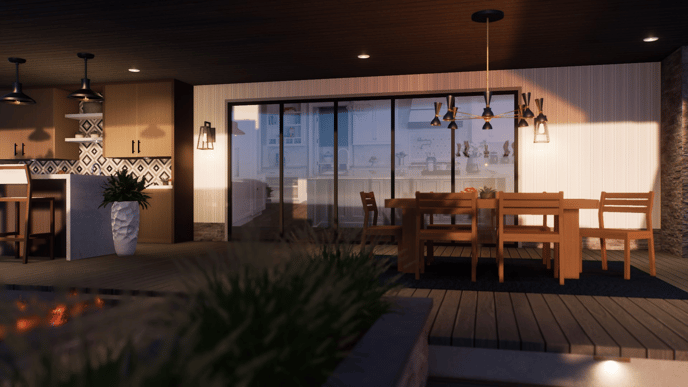
Add a Sink
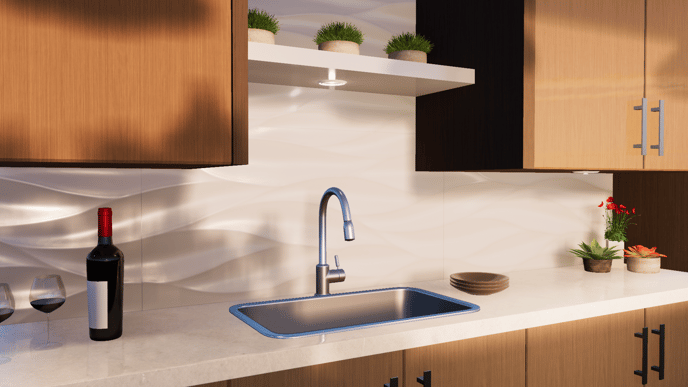
For many homeowners, the sink is just as important as the grill! Featuring a beautiful and functional custom sink is easy to add.
Carve Mode makes it possible to draw holes inside of shapes that have already been created. To create a hole for the sink in Carve Mode, simply draw around the sink with the line tool.
FIREPLACES
Unique fireplace designs are another popular element that can serve to help a client understand just how beautifully suited for their family a design really is.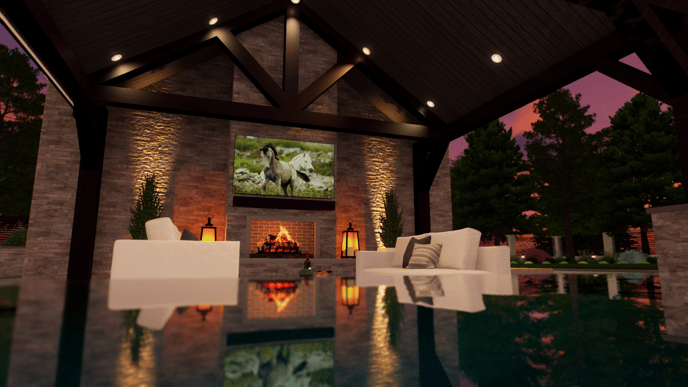
Design a Complete Outdoor Fireplace
A custom fireplace allows for complete size, style and material customization. The structure of a custom fireplace is frequently built in custom shapes and then using the carve tool to create the firebox.
You can also add custom shapes to create decorative borders and accents.
Once the structure is in place, add logs, fire, a mantle or surround from the library.
The outside of the fireplace can then be finished with stucco, stone or brick veneer, decorative concrete, or tile in the Materials Stage.
Create the Firebox
Use Carve Mode to create the firebox, start by drawing a simple rectangle firebox and setting the desired height, or thickness.
_Photos/2018/outdoor-kitchens/firebox.png?width=230&height=258&name=firebox.png)
To create space for the Inner Hearth, enter Carve mode.
The new hole for the hearth will be instantly visible in 3D. In order to make sure that the back of the fireplace is solid, check the Depth box under Hole settings, and set the value to what you need (for example, two inches less than the full size of the example shape).
Once the depth has been updated, the hole will not cut through the back portion in 3D but instead will leave 2-inch back on the shape.
Create the Chimney
_Photos/2018/outdoor-kitchens/chimney.png?width=230&height=280&name=chimney.png) The chimney is a vital component of any great fireplace — and Carve Mode makes it especially quick to create.
The chimney is a vital component of any great fireplace — and Carve Mode makes it especially quick to create.
First, draw another rectangle and use the arc tool in Carve Mode to create a tapered shape: with the arc tool, create the curve, and then complete the shape to form the hole.
To add the same curve to the other side, simply copy and paste the hole, mirror it under Object Modification, and place the hole on the other side of the shape.
Create the Chimney Cap
_Photos/2018/outdoor-kitchens/chimney-cap.png?width=230&height=240&name=chimney-cap.png) Finishing off the chimney with a cap can be done in just a few clicks: first, draw the side profile of the cap in 2D.
Finishing off the chimney with a cap can be done in just a few clicks: first, draw the side profile of the cap in 2D.
With Carve Mode, create the opening, and then rotate the chimney cap in 3D (for example, 90 degrees) so that the opening lines up with the chimney.
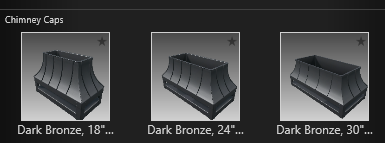
Or try one of the chimney caps found in the Library under Fire Elements \ Chimney Caps.
SAVE TO LIBRARY
When you’ve created a spectacular outdoor kitchen or beautiful fireplace it’s a great idea to save it to your library — complete with all of the accessories that add the perfect finishing touches.
Now you can quickly insert your newly created template into a future project.
