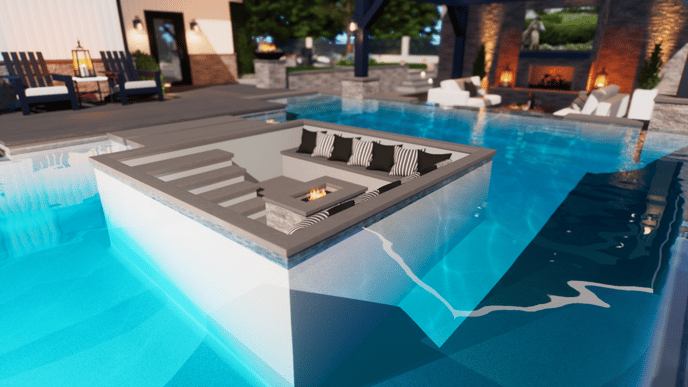
How to Create a Sunken Fire Pit in Pool Island
A seating area and fire pit in the middle of the pool makes a dramatic focal point.
Step 1: Draw your Pool
Once your pool has been created, head to the Hardscapes Stage.
Step 2: Draw the Island Perimeter and Steps
Draw the outside perimeter of the island and the steps leading to it.
To create square/rectangle shapes, activate the Rectangle Tool and turn ON Grid Snap.
We'll create a 10ft x 10ft island: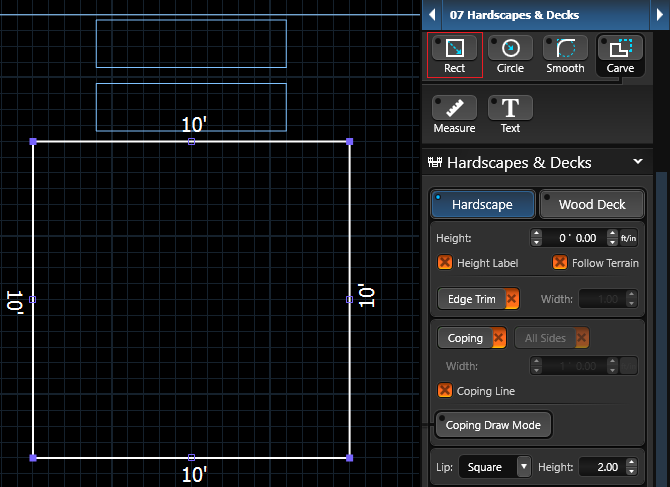
Set the height of the island and steps to the same height as the pool.
In this example, our pool and hardscapes are set to 0".
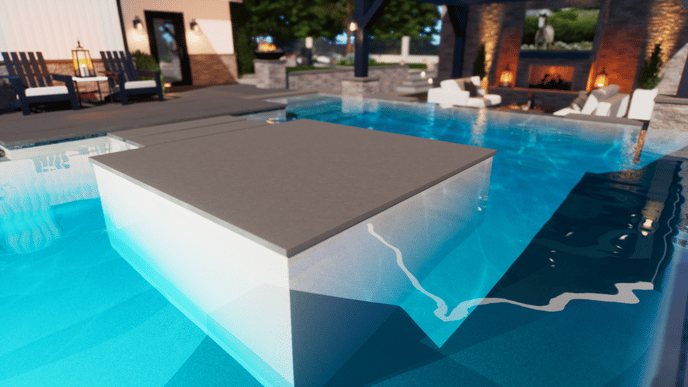
Step 3: Create the Sunken Area
To create the sunken area in our island, draw a second hardscape at a lower height.
Use the Outline Tool to set the spacing for the exterior walls of the island and then proceed to outline the shape.
In this example, our second hardscape is offset 6 inches from the first one and is set at a depth of - 3 feet.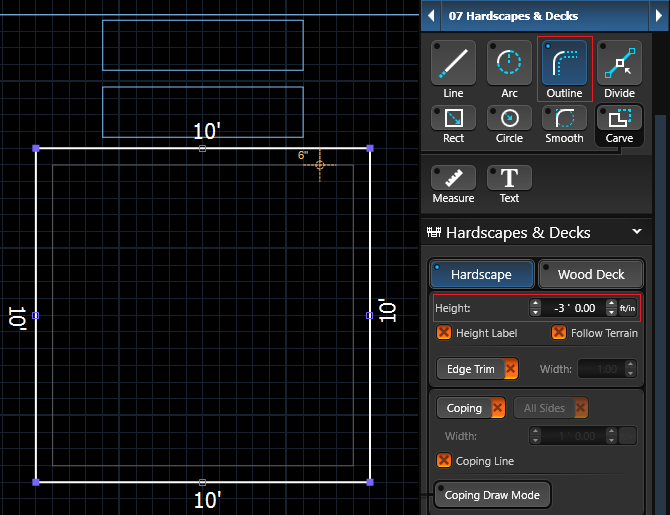
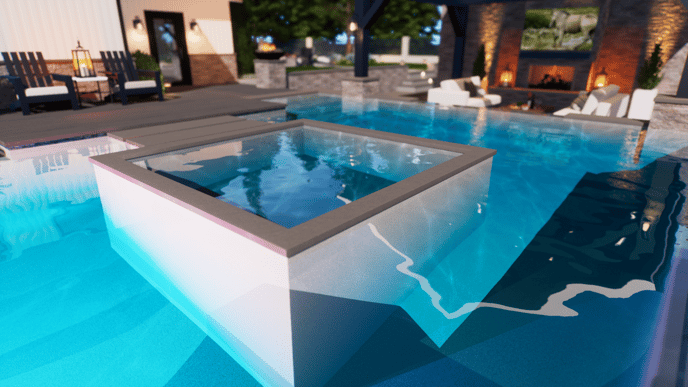
Step 4: Remove the Water
To remove the water from the sunken area, draw a Spa and set the height to a negative value greater than your pool depth.
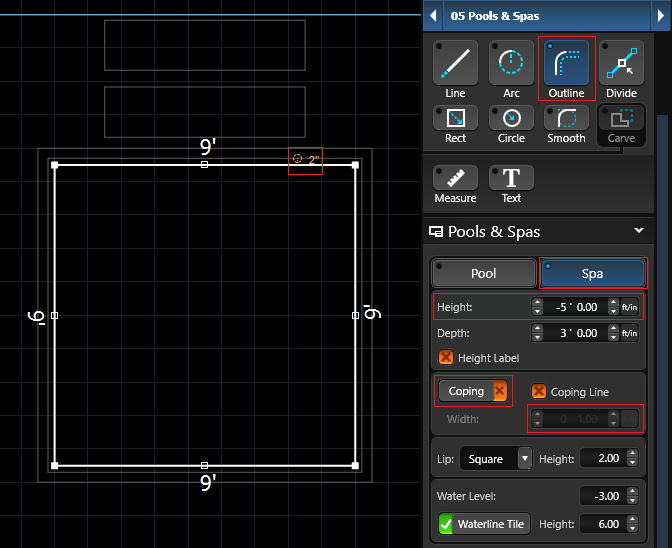
- To draw the Spa: Activate the Outline Tool to outline the sunken hardscape.
- Set the offset to 2 inches to make the spa slightly larger than the inside hardscape.
- Set Coping Width to 1 inch and then turn OFF the Coping on the Spa:
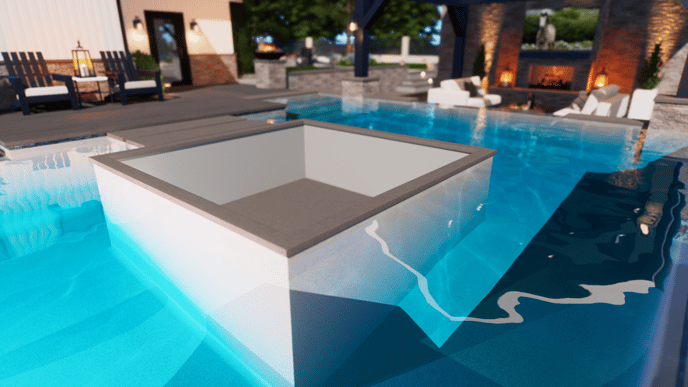
Step 5: Add Fire Pit, Seating and Accessories
After you have created the sunken island, enhance it by adding a fire pit, steps and bench using additional hardscapes. You can also include accessories to make the island more inviting and enjoyable.
