Terrain Grade (Slope) and Retaining Walls
Learn how to create multiple slopes and level areas.
Retaining Wall Video
Auto Level Terrain
When you draw a complete shape and set the height, all terrain inside the shape will remain level.
Everything inside the shape will have a level elevation based on the value entered in the Contour Height box.
Step 1: Establish 0'
Set a flat area with a 0' starting point
The 0' starting point will normally be around the house.
Step 2: Specify Specific Areas

- 0 ft. around the house
- - 1 ft. 6 in. around the patio
- - 2 ft. around the pool area
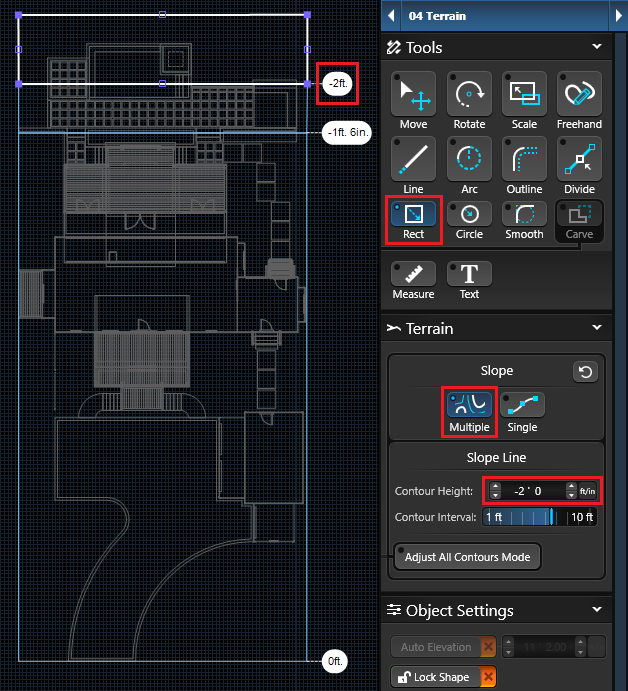
Terrain Grade (Slope)
Now we'll add a slope to the yard.
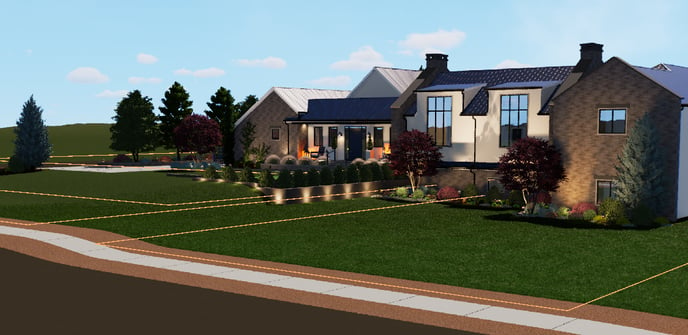
Set the High Point
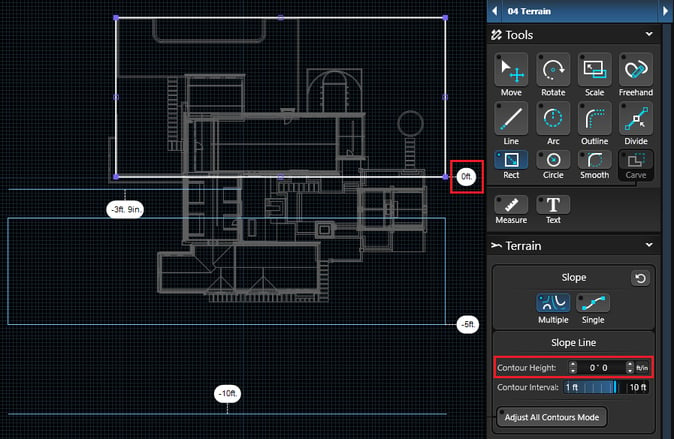
In this example, the left side elevation is 0 ft.
TIP: Add a measurement from the level area to help establish the necessary distance.
Activate the Rectangle or Line Tool to add the flat area. In the Panel, set the elevation to 0 ft.
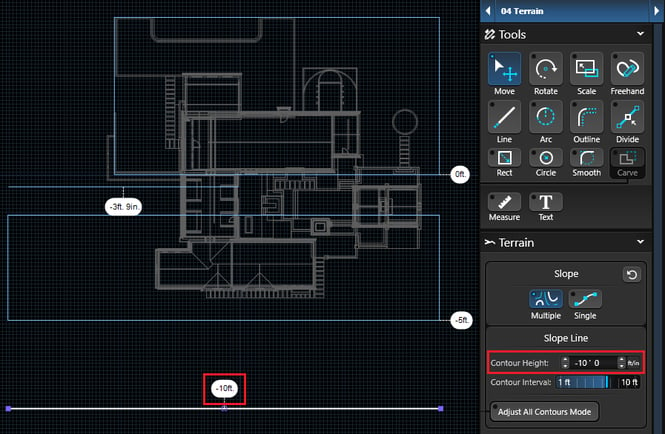
Set the Low Point
The right side elevation is -10 ft. lower. Draw a line on the right side that is set at negative 10 ft.
See the Slope in 3D
The terrain lines are visible in 3D while in Stage 4: Terrain.
Once the main 2D terrain lines are set, it is easy use the 3D Terrain tools to focus on the details.
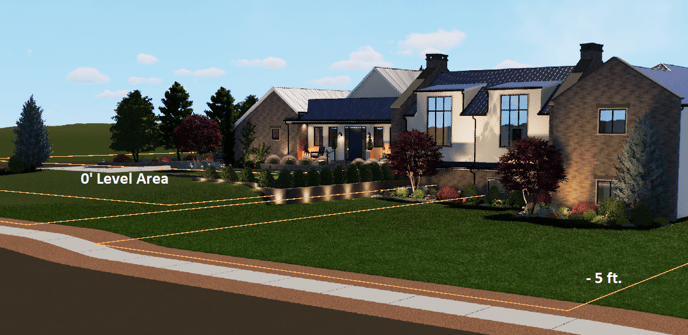
NOTE: Every project is unique. Once the starting level area is established, build other terrain lines from that flat area.
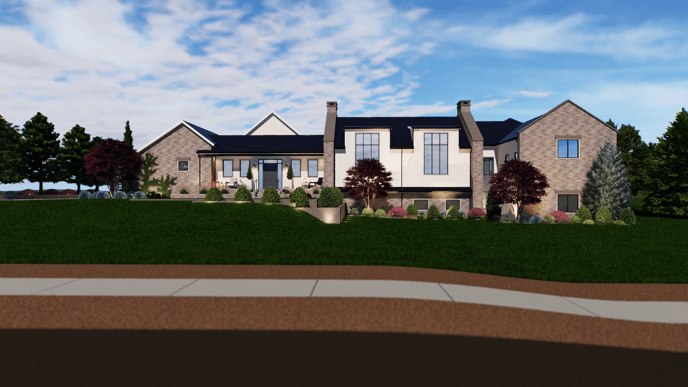
Create retaining walls in the Hardscapes Stage. Hardscapes will hold back the terrain.
Activate the Rectangle Tool, to draw the retaining wall.
For this example, we have 3 tiered retaining walls on a steep slope.
TIP: Turn ON height labels to make it easier to assign contour terrain lines.
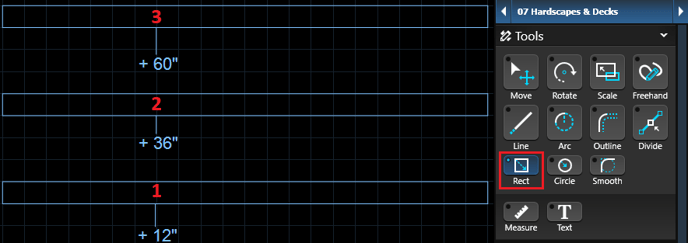
Level Tiers
To create flat tiers, draw hardscapes between the retaining walls.
Set the height of the new shape to the same height as the retaining wall in front of it.
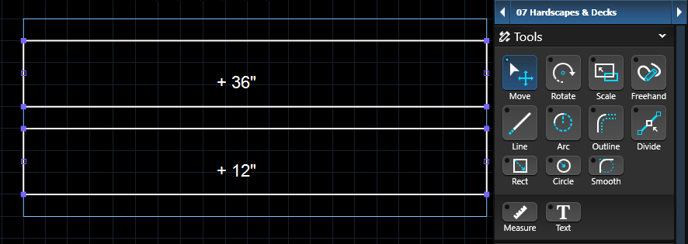
Change the material of these hardscapes to grass, rock or mulch to match the surrounding terrain.
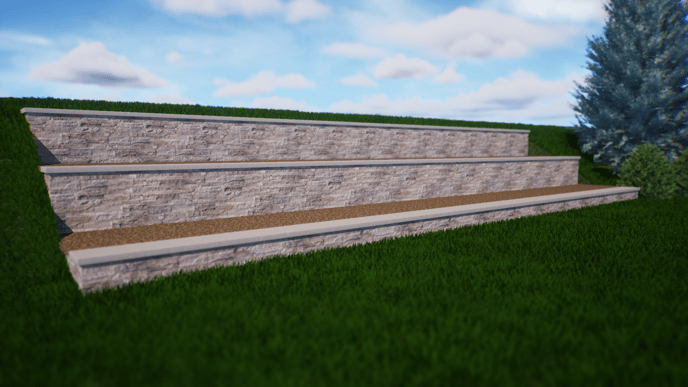
TIP: Add a hardscape to the frontside or backside of a retaining wall to use the 3D terrain tools without affecting the other side of the retaining wall.
See just how easy it is to use the slope and 3D terrain tools to achieve the perfect yard slope in your next design.