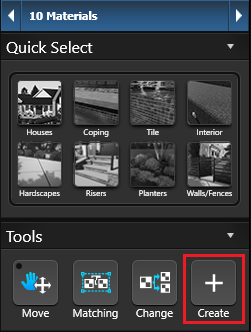
 You can easily import textures such as tile, concrete, pavers, bricks, and even photographs. Textures are supported in the following formats: .bmp, .jpg, .jpeg, .png, .tga, and .tif.
Once you have imported the file, you can save it to the Material Library. If you do not save the texture to the Material library, it will only be available in the project where you imported it.
The texture file will automatically tile across the selected surface. Use the Scale, Rotate, and Pan tools to fine-tune how the texture tiles.
Where to Download Textures
When searching online, look specifically for tileable or seamless textures. Many sites offer downloadable tileable PBR materials suitable for architectural renderings, including:
Tips for Creating Textures
If you want to create your own textures, follow these guidelines for the best results:
- Save your textures in the .png file format. PNG is the most efficient format for textures in real-time rendering.
- Use texture dimensions that are powers of two, such as 512 × 512, 1024 × 1024, 2048 × 2048, or 4096 x 4096 pixels.
- Avoid using textures larger than 2048 × 2048, as higher resolutions can quickly increase memory usage. Most native materials use 2K resolution (2048 × 2048).
- Use seamless (tileable) textures so the pattern repeats smoothly without visible seams, breaks, or boundaries.
Base Texture
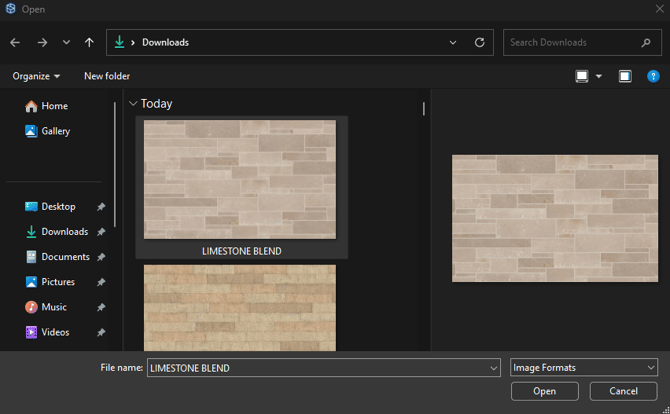
Once you click Create, select the texture (image) on your computer that you would like to use and click Open:
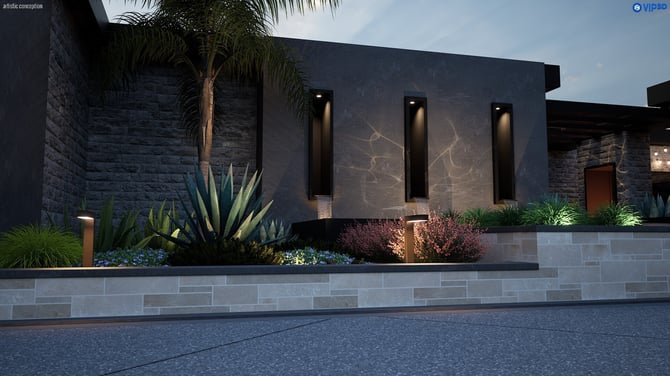
Once you click Open, the custom texture will apply in your design:
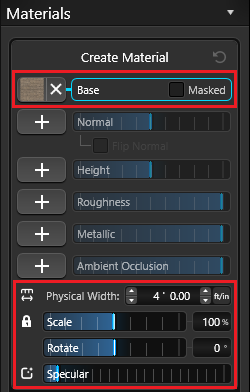 This texture will appear in the Panel next to Base. You will see a preview of the texture and an X you can click to remove it. You can also identify the texture as Masked by checking the box.
A Masked texture uses an alpha channel to define which areas are transparent. This is especially useful for materials such as fences or screens.
Note: Base textures may also be referred to as a “Color Map,” “Diffuse Map,” “Albedo Map,” or “DF Map.”
Physical Width: Set the physical width so it matches the real‑world size of the material you are representing—for example, enter the actual width of a tile, to ensure the size is accurate.
Scale: Use the slider or type in a value and press enter, to scale the pattern of the currently selected base texture. To scale larger than 200%, type in the value and press enter.
Rotate: Use the slider or type in a value and press enter, to rotate the pattern of the currently selected base texture.
Specular: Use the slider to add non‑metallic reflections, controlling how shiny or glossy the material appears.
You may also use the Color Sliders or Swatches on imported textures.
For more information, see Customize Materials.
Maps for Physically-Based Materials
Once the base texture is imported, you can optionally add Normal, Height, Roughness, Metallic, and Ambient Occlusion maps.
Normal Map (NM)
The Normal texture adds fine surface detail and fakes depth by simulating bumps, scratches, and other small imperfections.
To add a Normal texture to a material:
-
Click the + next to the Normal slider.
-
Browse to the Normal map file on your computer and click Open.
Height Map (HT, Displacement Map)
The Height texture adds true depth to a surface, creating details like cracks and bumps. Unlike normal maps, it can actually alter geometry or use parallax occlusion, rather than only simulating lighting on a flat surface.
To add a Height texture to a material:
-
Click the + next to the Height slider.
-
Browse to the Height map file on your computer and click Open.
Roughness Map (RS)
The Roughness texture controls how smooth or matte a material appears. It is a grayscale map where white areas are rough and diffuse, and black areas are smooth and highly reflective.
To add a Roughness texture to a material:
-
Click the + next to the Roughness slider.
-
Browse to the Roughness map file on your computer and click Open.
Metallic (Metalness Map, MC)
The Metallic texture controls how smooth or matte a material appears. Use the Metallic texture only for true metal materials, such as aluminum, gold, silver, or metal alloys like brass.
To add a Metallic texture to a material:
-
Click the + next to the Metallic slider.
-
Browse to the Metallic map file on your computer and click Open.
Ambient Occlusion Map (AO)
The Ambient Occlusion texture is a grayscale map that simulates soft, diffused shadows in the crevices, corners, and enclosed areas of a 3D model. It adds depth and realism to materials by darkening areas where ambient light struggles to reach.
To add an Ambient Occlusion texture to a material:
-
Click the + next to the Ambient Occlusion slider.
-
Browse to the Ambient Occlusion map file on your computer and click Open.
Sharing Files
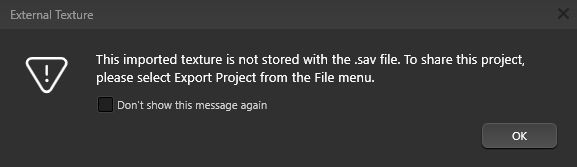
The Base texture is saved with the design file. If you also import Normal, Height, Roughness, Metallic, or Ambient Occlusion maps, those textures are saved on your computer. To share a project with custom texture maps with another designer, you will need to export the Current Project from the File menu.
For more information, see Export Current Project.
Save Material
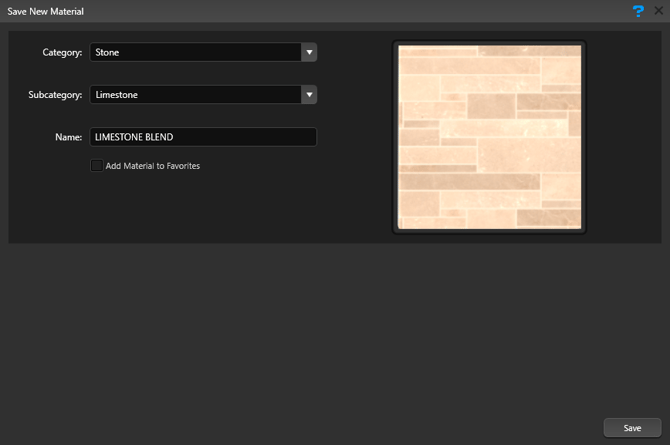
You can save this custom texture to your Material Library to use in future projects.
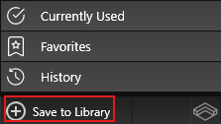
Select the material and click Save to Library at the bottom of the Library.
Now select a Category and Subcategory, and enter a Name.