If you want to print only certain types of objects, use the Hide/Unhide menu before printing—any objects that are hidden will not appear on the printout.
 Printing behavior changes depending on whether you print from a Design Stage or from the Construction Stage.
You can also export your drawing as a 2D image instead of printing. For more details, see Exporting.
Print from Design Stage
Make sure all the objects that you want printed are visible, and all the objects that you do not want printed are hidden.
Choose “Print” from the Application Menu. The Print Preview dialog box will open. Make changes to the Print Preview as described below and left-click the “Print” button to send the data to the printer.
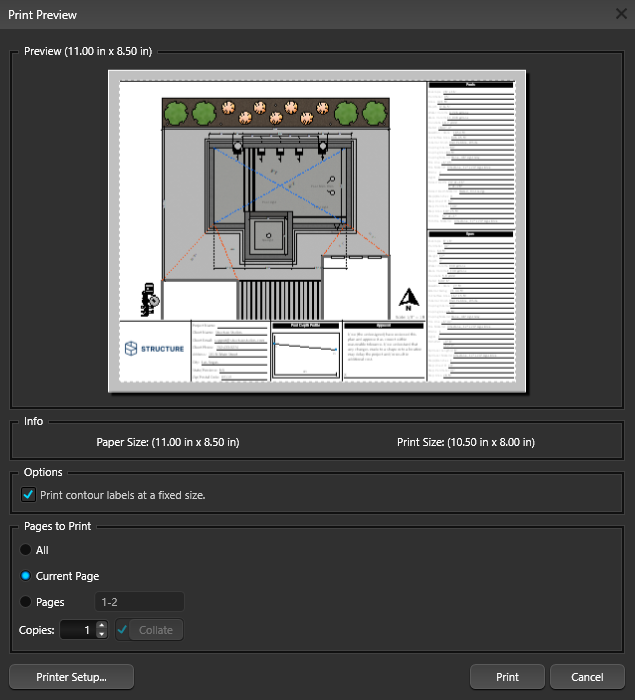
Print Preview Options

Scale: The drawing prints at the scale you specify. Use the scale slider to adjust the scale, or enter a custom value. When you change the scale, the preview window updates automatically to show the new settings.
Scale Label: You can choose to print a label indicating the scale on the page. Place the label in any corner of the paper, or select None if you do not want a label printed.
 Setup: Select the paper orientation (Portrait or Landscape) and choose whether to print in color or black and white. To adjust printer-specific settings, such as paper size, left-click “Printer Setup.”
Preview: When the Print Preview window first appears, your design may not be centered on the page. To reposition it, hold down the left mouse button and drag until the design is placed exactly where you want it. If the entire design does not fit in the preview, adjust the scale or change the paper size.
The dotted line around the drawing shows the area that will be printed. To adjust this area, move the cursor over a line or corner until it changes to a two-headed arrow, then drag in the desired direction. Any area outside the dotted line appears gray in the preview and will be blank on the printed page.

Print from Construction Page Layout
Construction Page Layout lets you set options such as paper size and scale, and precisely position your design on the page before printing.
To print, choose “Print” from the Application Button menu as usual.
The software will print your construction page exactly as it appears in your 2D view. If the print preview does not match how you would like to print the page, press Cancel and make changes to the page in the 2D view. The Printer Setup button will allow you to change printer settings such as color.
Info: Displays the paper size specified in the Printer Setup window and the dimensions of the printed area represented by the dotted line.
Printer Setup: To access printer-specific options such as changing paper size and orientation, left-click Printer Setup”.
For more information see Construction Page Layout.