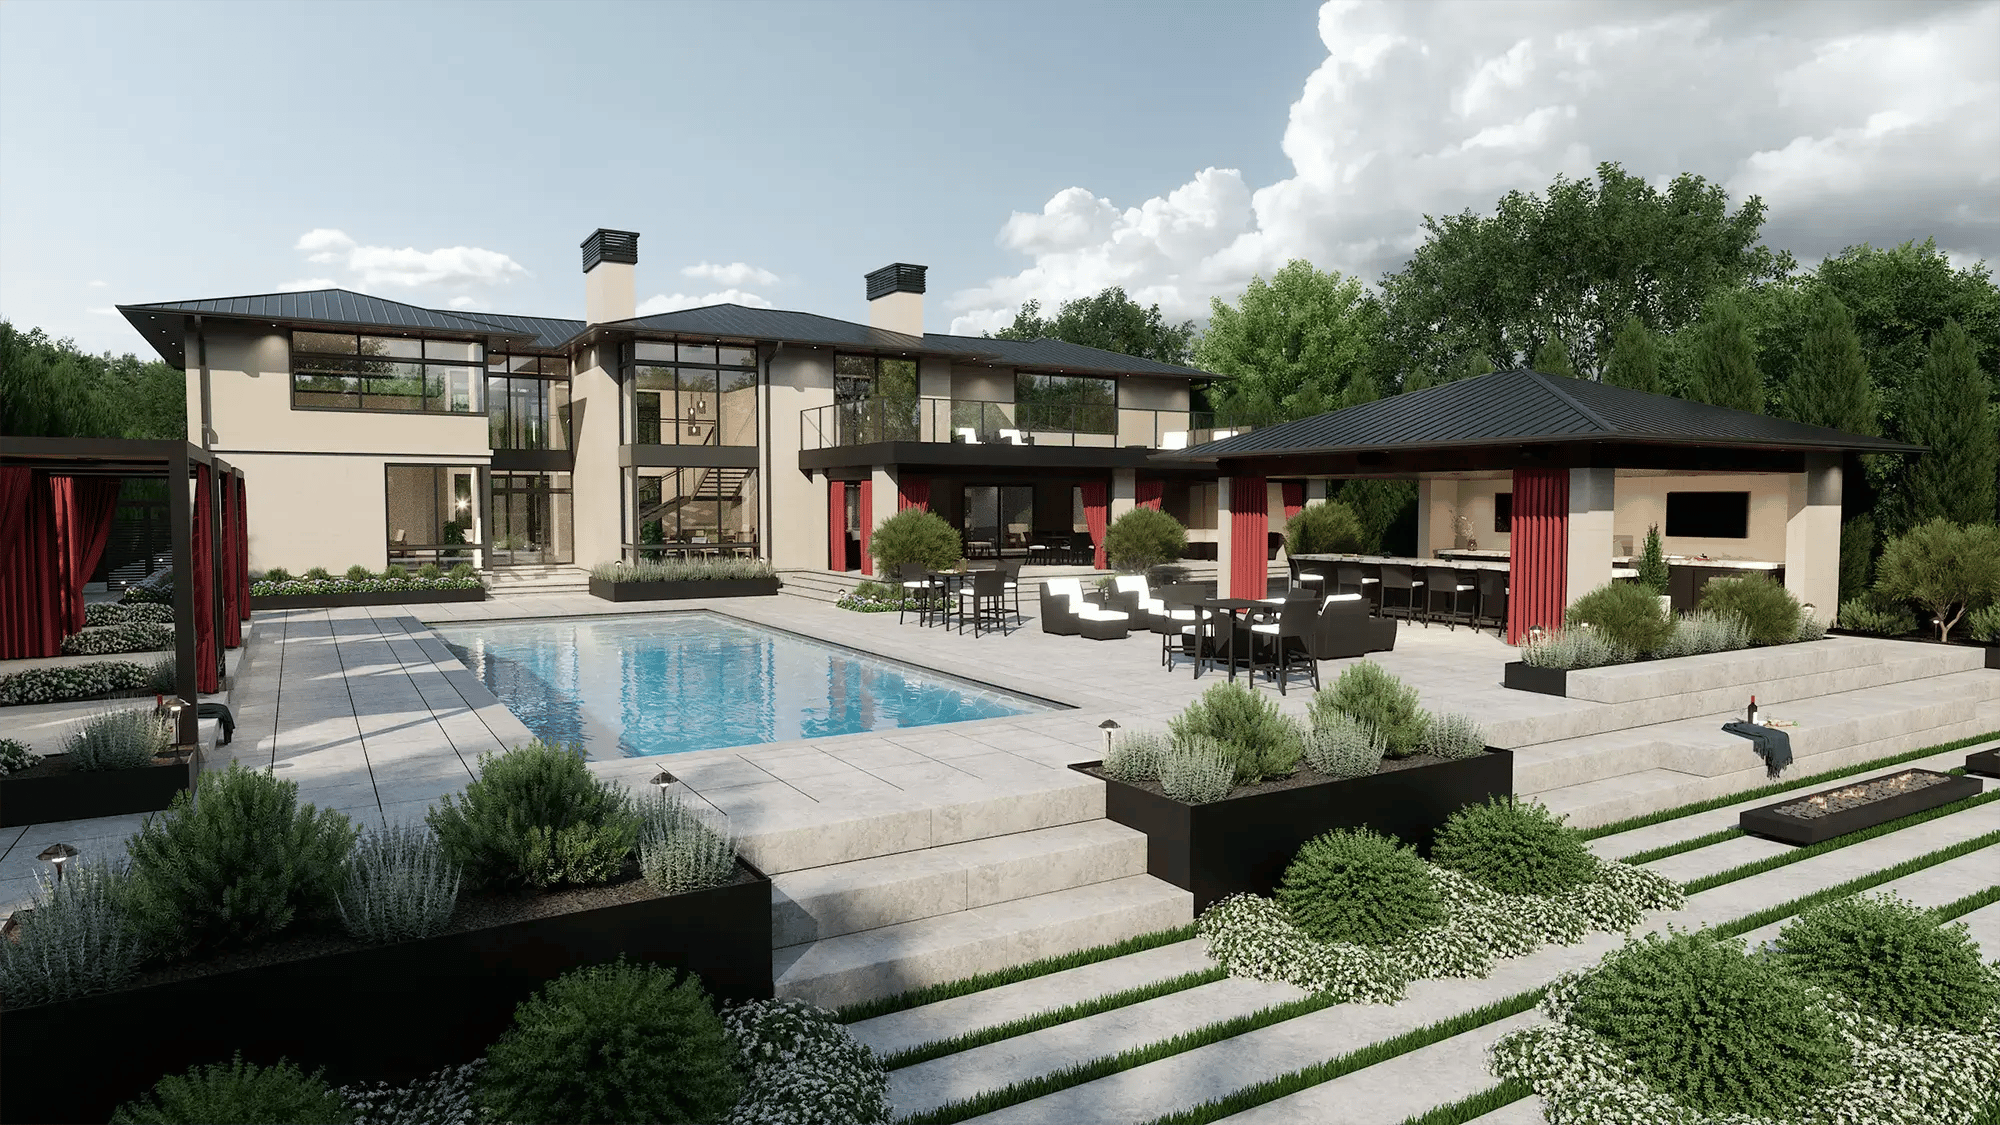




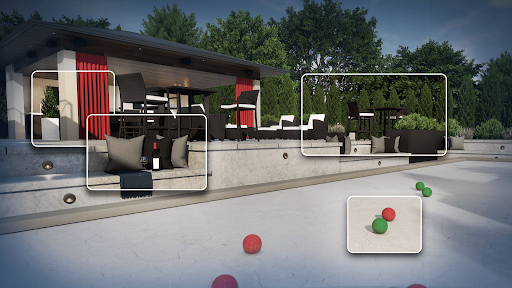
Some landscape design mistakes don’t become apparent until construction begins, or even after a project is finished. A patio that meets the back door at the wrong height because finished grades weren’t set during design, foundation shrubs that reach the windowsills within a few years, or a client who asks to move the fire pit after the pavers are down can all lead to expensive corrections.
Many of these problems can be identified during the design process. Accurate site measurements, careful planning, and a thorough review of the design before construction begins can help prevent issues that are much harder to resolve later.
Here are eight common landscape design mistakes, what causes them, and how to catch them before they affect the finished project.
Key Takeaways
- Measure before you design. A plan built on guessed dimensions or grades carries the error into every sheet that follows.
- Size outdoor steps for outdoor use. Twice the riser plus the tread should equal about 26 in., which gives shallower steps than an indoor stair.
- Place trees for their mature size. Purdue Extension’s rule of thumb is at least 20 ft. from the house, and up to 40 ft. for larger shade trees.
- Sleeve for lighting and irrigation before paving. Laying conduit before the hardscape goes in avoids cutting new paving later.
- Get approval on views the client can read. Miscommunication and poor project data accounted for 48% of US construction rework in a 2018 FMI and PlanGrid report.
Quick Answer: Which Landscape Design Mistakes Show Up After the Build?
The most costly ones are usually details that looked right on the plan but weren’t checked against the site, the client’s expectations, or the build.
|
Landscape Design Mistakes at a Glance
Each of these checks can be run while the design is still on screen.
|
Mistake |
How to Catch It in Design |
|---|---|
|
Designing before the site is measured |
Verified boundaries, spot elevations, and utility locations on the base plan |
|
Treating grade as a construction detail |
Finished elevations at every transition, with paving sloped away from the foundation |
|
Overlooking outdoor step proportions |
Check step proportions, consistent dimensions, and applicable building codes |
|
Planting for installation size |
Mature height and spread on every plant, shown to the client in 3D |
|
Choosing plants before reading the soil and light |
A site analysis before the plant list |
|
Adding lighting after the hardscape |
Sleeves, wiring routes, and fixture locations on the plan |
|
Designing one feature at a time |
A complete design, so each phase still works with the whole property |
|
Approving plans the client can’t picture |
An interactive 3D walk-through before sign-off |
Where Each Mistake Starts and How to Catch It
These eight landscape design mistakes turn up on patio refreshes and full properties alike, and each has a check you can run during design.
1. Designing Before the Site Is Measured
Small measurement errors carry through everything that follows. A patio drawn 2 feet too close to a property line, or a fire pit set over a gas line that was never marked, can look fine on paper until the layout reaches the site.
Start with accurate site information. Record existing structures, grade changes, utilities, and other features that could affect the design. Verify property boundaries, easements, and setbacks against the appropriate survey and local records.
Our roundup of tools for measuring a property covers the equipment that gets those numbers right on the first visit.
In VizTerra, GIS Data (available as an add-on) can provide a starting point with aerial imagery, parcel boundaries, and other site information brought into the project at scale. Where exact measurements or legal boundaries matter, verify them before finalizing the design.
2. Treating Grade as a Construction Detail
Settle grading and drainage before you finalize the layout, while moving a slab elevation or adding a drain line is still a quick change to the plan rather than a change order.
Set finished elevations at every transition (door thresholds, patio edges, steps, retaining walls, and pool or spa coping) and confirm that the grade between them works.
Under the International Residential Code, the ground should fall at least 6 inches within the first 10 feet from a foundation, and impervious surfaces in that zone need a minimum 2% slope away from the building (local codes may be stricter).
When you add these details to your 3D design, you can evaluate, and show the client, how surface water will move across the site: where it collects, which swales or drains carry it, and where it leaves the property.
3. Overlooking Outdoor Step Proportions
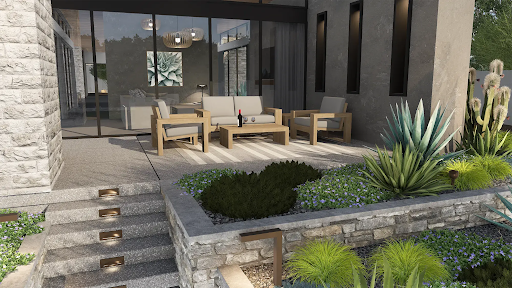
Outdoor steps need to be comfortable to use and appropriate for the change in elevation. In landscape design, shallower risers and deeper treads can create a more gradual transition between outdoor living areas.
Landscape architect Thomas D. Church popularized a guideline in which twice the riser height plus the tread depth equals approximately 26 inches. For example, a 6-inch riser would pair with a 14-inch tread.
This is a design guideline, not a building-code requirement. Check applicable local requirements for stair dimensions, landings, handrails, and other safety provisions before finalizing the design. Within each flight, maintain consistent riser heights and tread depths.
4. Planting for Installation Size
Many clients expect a landscape that looks full on day one, an expectation shaped in part by home improvement shows that end with lush, established planting. Planting closer to meet that expectation can mean shrubs over the windows and trees crowding the house within a few years.
Purdue Extension’s guidance on planting trees near homes gives larger shade trees considerably more room than smaller ornamentals, and the right distance still depends on the species and the site.
3D design software lets you plant at the right spacing and still show clients the full landscape they’re picturing. In VizTerra, you can show how the planting will look at installation and again at maturity, so the spacing makes sense to the client before anything goes in the ground.
5. Choosing Plants Before Reading the Soil and Light
Clients often arrive with photos of plants they love, and those photos don’t always match the site’s soil, drainage, or sun. UF/IFAS Extension’s plant selection guide calls soils “one of the most frequently overlooked site characteristics” in plant selection.
Record sun hours, drainage, and soil for each bed during the site analysis, and match the plant list to those notes. The client’s photos still guide the style, while the site helps determine which species will thrive.
6. Adding Lighting After the Hardscape
Lighting designed after the paving is down can mean cutting pavers. The Arizona Municipal Water Users Association’s hardscape installation guide tells installers to mark and install sleeves for irrigation lines and outdoor lighting during the hardscape stage.
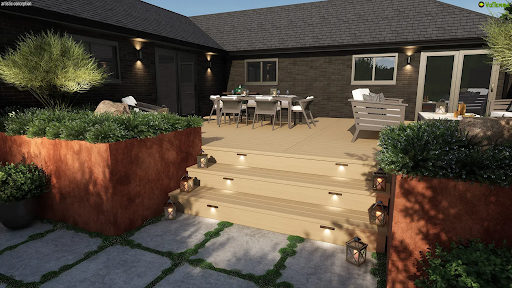
Coordinate fixture locations, wiring routes, and any required sleeves before hardscape installation, and include those details in the construction plans. Then show the client the design at dusk and at night, since that’s when they’ll judge whether the lighting works.
In VizTerra, you can place landscape lights directly in the design and review the same view at day, dusk, and night, so clients can see how each fixture shapes paths, planting, and gathering areas after dark.
For projects that call for more advanced lighting, Vip3D adds more lighting options, along with True Shadows and path tracing for realistic light, shadow, and reflections.
7. Designing One Feature at a Time
When a project is designed one feature at a time, the second phase can look like an add-on to the first. Jim Bellamy of California Pools, who designs in Pool Studio, avoids that by designing the whole property from the start, as he explains in his designer profile.
In his words, “I draw everything. I don’t just draw the pool. That’s the most important key.”
When the client chooses to build in phases, the full design can still show where each future piece connects. Planning ahead helps avoid conflicts between patios, pools, planting, utilities, and other elements as the project develops.
8. Asking Clients to Approve What They Can’t Picture
A client who signs off on a plan they couldn’t fully picture may ask for changes once they see the real thing. Across the construction industry, a 2018 FMI and PlanGrid report found that poor project data and miscommunication accounted for 48% of all rework in the US.
A scaled plan communicates dimensions and layout, but it may not give the client a complete understanding of how the finished space will look and feel. Interactive 3D presentations make it easier to evaluate features such as elevation changes, seating areas, planting, and the relationship between different outdoor spaces.
In VizTerra, you can draw in 2D, switch to interactive 3D in one click, and continue designing with both views in sync. This lets you review the design with clients, make adjustments during the presentation, and help them understand what they’re approving before construction begins.
Catching Mistakes While the Design Is Still on Screen
Accurate measurements, careful planning, and a thorough review of the design can help prevent costly corrections during construction.
VizTerra is landscape design software that brings the design and documentation process together in one project. Draw in 2D, continue designing in interactive 3D, and evaluate terrain, materials, planting, and lighting as the design develops.
Smart Data automatically calculates measurements and material quantities, while build-ready construction plans carry the design details forward to the installation team.
You can also walk clients through the project in interactive 3D and make changes during the presentation, helping them understand the finished design before construction begins.
Here’s what that kind of walk-through looks like on an outdoor living design in VizTerra:
When a Client’s Preference Comes First
Not every guideline applies to every client. A family with young kids may want more lawn than any planting plan would suggest, and a client who gardens every weekend may love a border another client would find too demanding.
Record those choices in the design notes, so everyone remembers they were deliberate decisions made with the client.
FAQs About Landscape Design Mistakes
How Do You Avoid Landscape Design Mistakes on a New Project?
Start with verified site information, set finished elevations and step dimensions before the layout is approved, and place plants for their mature size. Then review the design with your client in interactive 3D, so they understand what they’re approving before construction begins.
How Far from a House Should You Plant a Tree?
The appropriate distance depends on the tree’s mature height and spread, root characteristics, and proximity to structures and utilities. Larger shade trees generally need more space than smaller ornamental varieties. Check the specific species and site conditions before determining the planting location.
What Riser and Tread Work Best for Outdoor Steps?
Outdoor step dimensions depend on the elevation change, the intended use, and applicable building codes. For landscape steps, a traditional design guideline is that twice the riser height plus the tread depth equals approximately 26 inches.
However, this is not a universal requirement. Always verify local stair requirements and maintain consistent dimensions within each flight.
When Should Landscape Lighting Be Designed?
Design it with the hardscape, before installation. Fixture locations and sleeve runs on the plan let the crew lay conduit before the paving goes in, so nothing has to be cut later.
Why Do Clients Ask for Changes After Approving a Design?
Often it’s because the client couldn’t fully picture the design when they approved it. Walking them through each area in interactive 3D, including day and night views, lets them react while changes are still quick to make in the design.
Walk Your Next Design Before the Crew Does
Some of the most expensive construction problems begin with details that could have been addressed during design. Taking the time to verify site information, review elevations, plan for mature planting, and coordinate construction details can make a significant difference in the finished project.
With VizTerra, you can develop your design in 2D, review it in interactive 3D, and prepare build-ready construction plans from the same project. That makes it easier to identify potential issues, refine the design with your client, and carry accurate information through to construction.
Start your free 30-day trial of VizTerra and check your next design at eye level, day and night, before installation begins.